Text editor placement
The Text editor placement makes AI actions available directly inside the TinyMCE text editor.
When properly configured, it allows users to generate content with AI while editing text in supported areas of Moodle.
Prerequisites
This placement works only when Moodle is configured to use the TinyMCE editor.
If your site is not using TinyMCE, the AI button will not appear.
To check or change the active editor, refer to Moodle’s official documentation: https://docs.moodle.org/405/en/Editing_text
Enable the placement
-
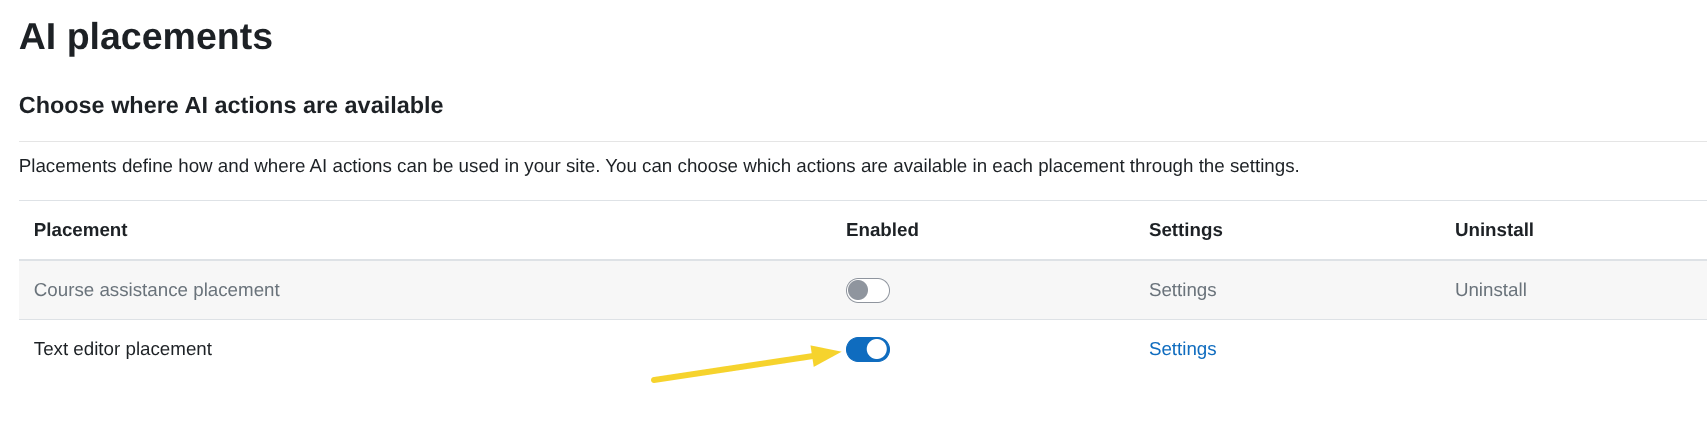
Go to
Site administration > General > AI > AI placements. -
In the AI placements table, activate the toggle in the Text editor placement row.
-
Once enabled, click Settings to configure it.

Enable actions for this placement
Inside the Text editor placement settings, you will see the list of available AI actions.
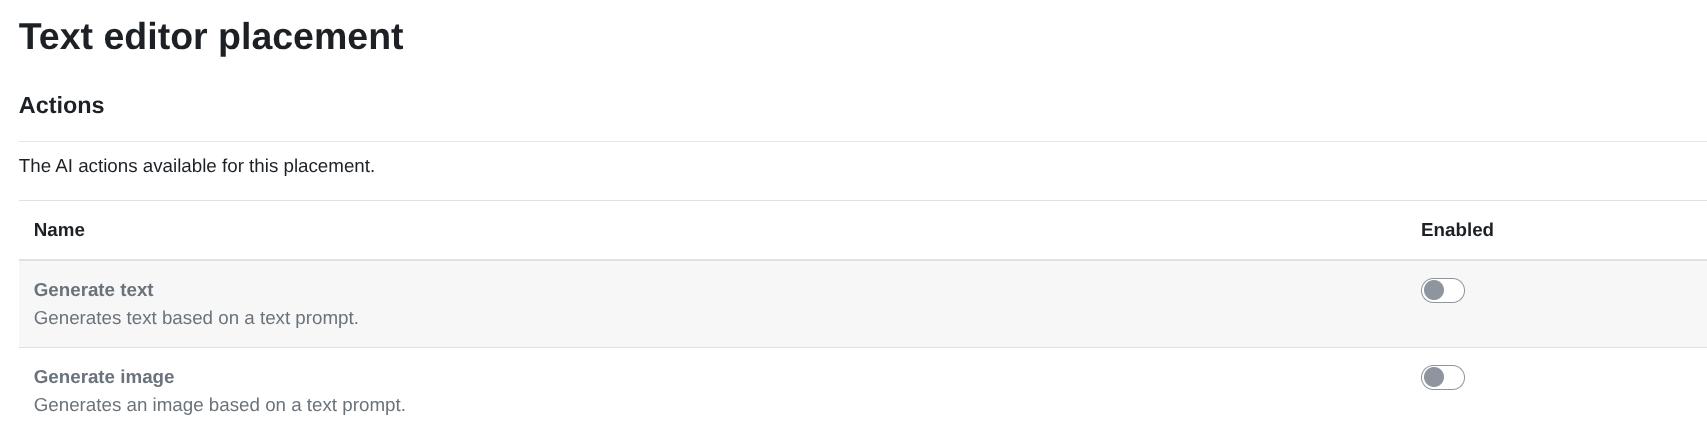
Enable Generate text
To enable AI text generation inside the editor:
-
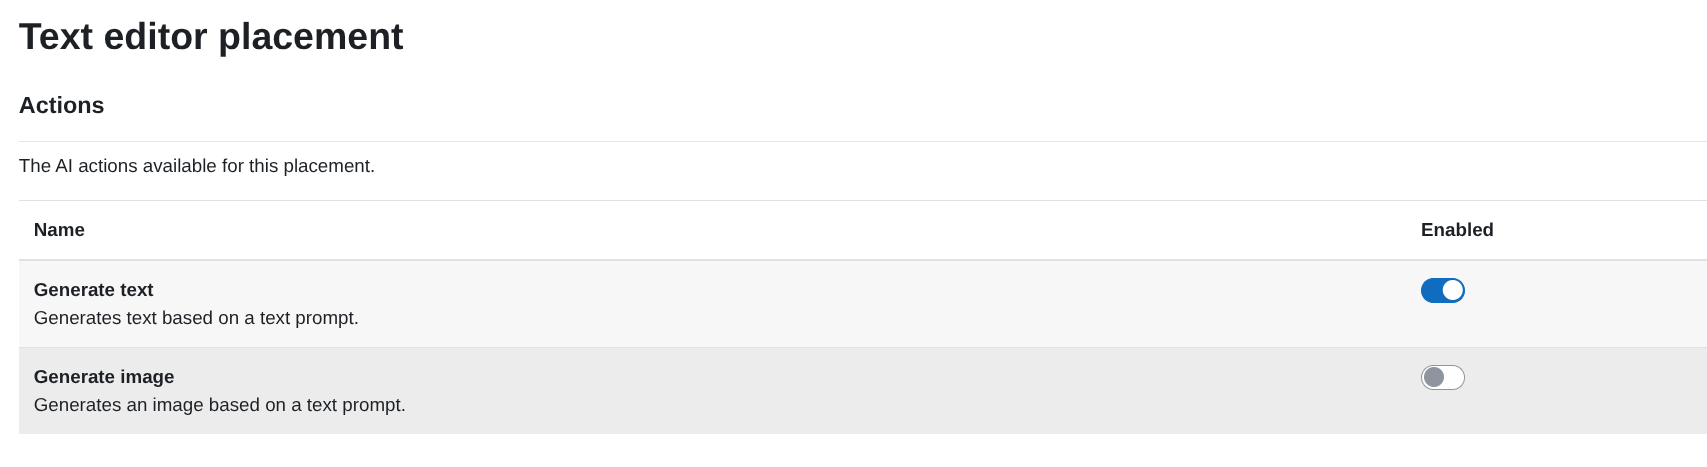
Make sure the Generate text action is enabled in the AI Provider settings:
Generate text action configuration -
In the Text editor placement table, activate the toggle in the Generate text row.
Permissions
The Generate text with AI button is only available to users who have the required capability:
aiplacement/editor:generate_text
By default, this capability is allowed for the following roles at the course context level:
- Manager
- Editing teacher
- Teacher
- Student
If you want to control which roles can see the Generate text with AI button, you can modify this capability as an administrator in:
Site administration > Users > Permissions > Define roles
From there, edit the desired role and adjust the capability:
aiplacement/editor:generate_text
For more information on roles and permissions in Moodle, see the official documentation:
What this enables inside the editor
Once enabled:
-
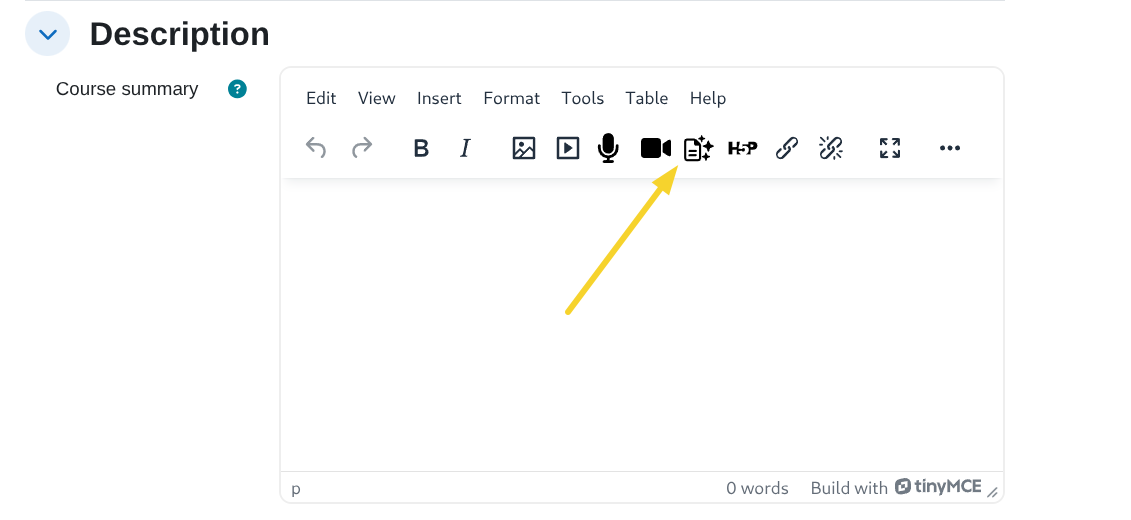
A Generate text with AI button appears in the TinyMCE editor toolbar.
-
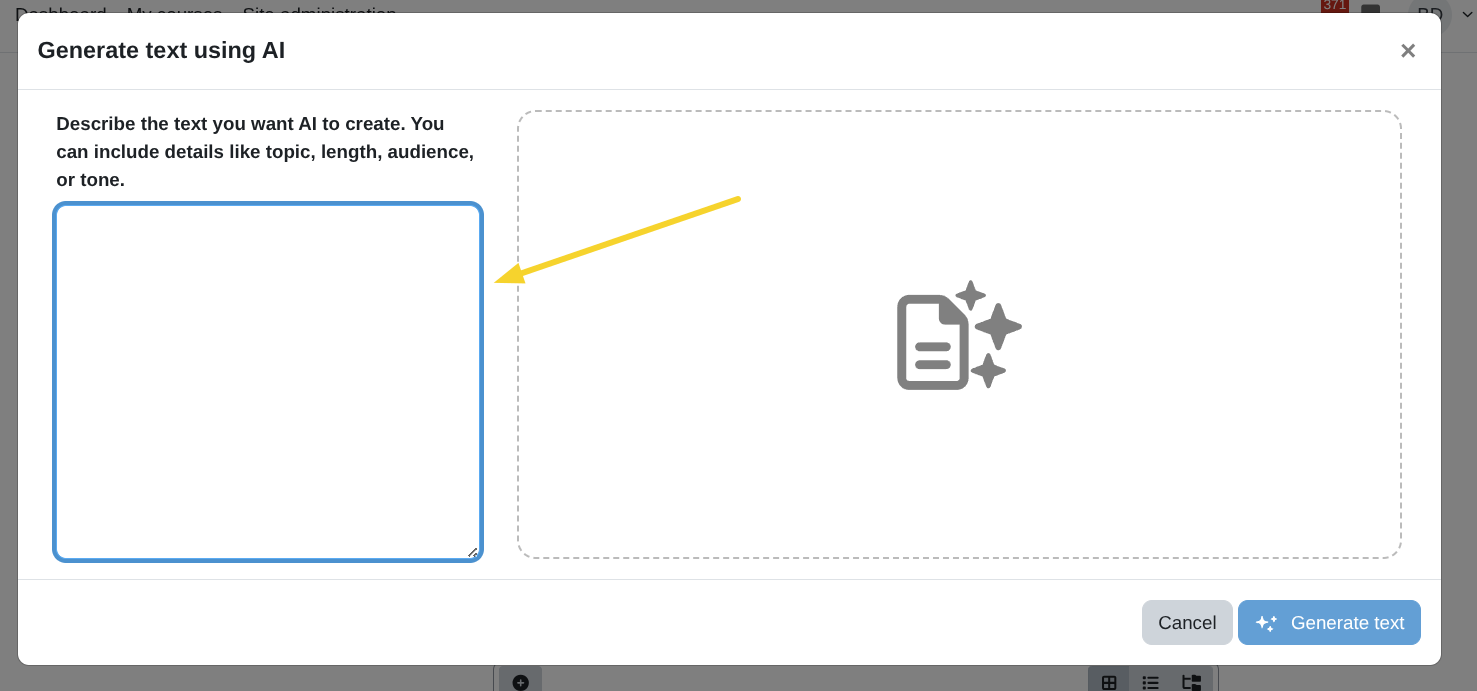
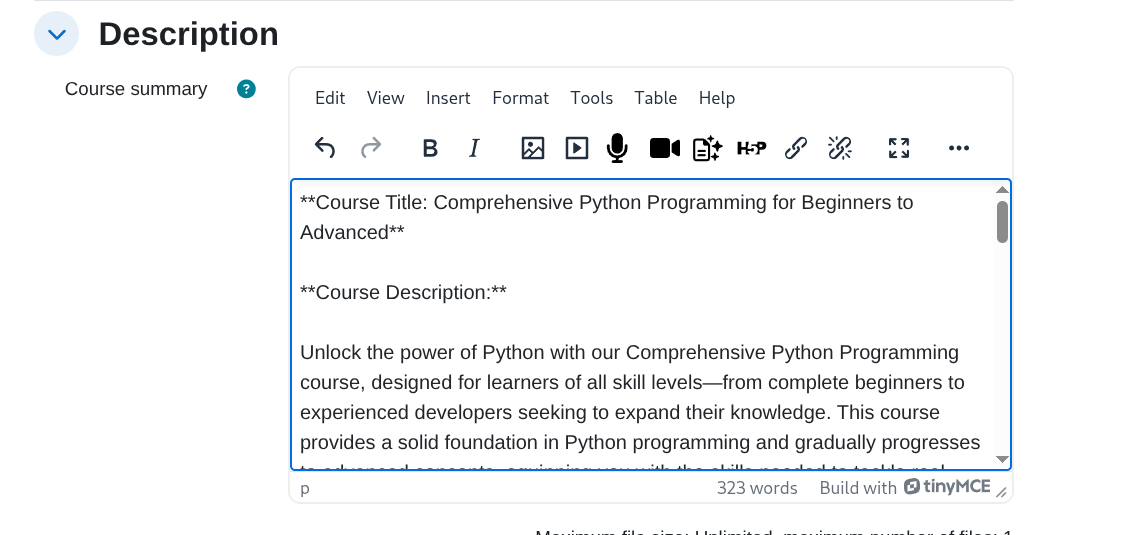
Clicking Generate text with AI opens a modal window where the user can describe the content they want to generate (for example, topic, length, tone, or audience).
-
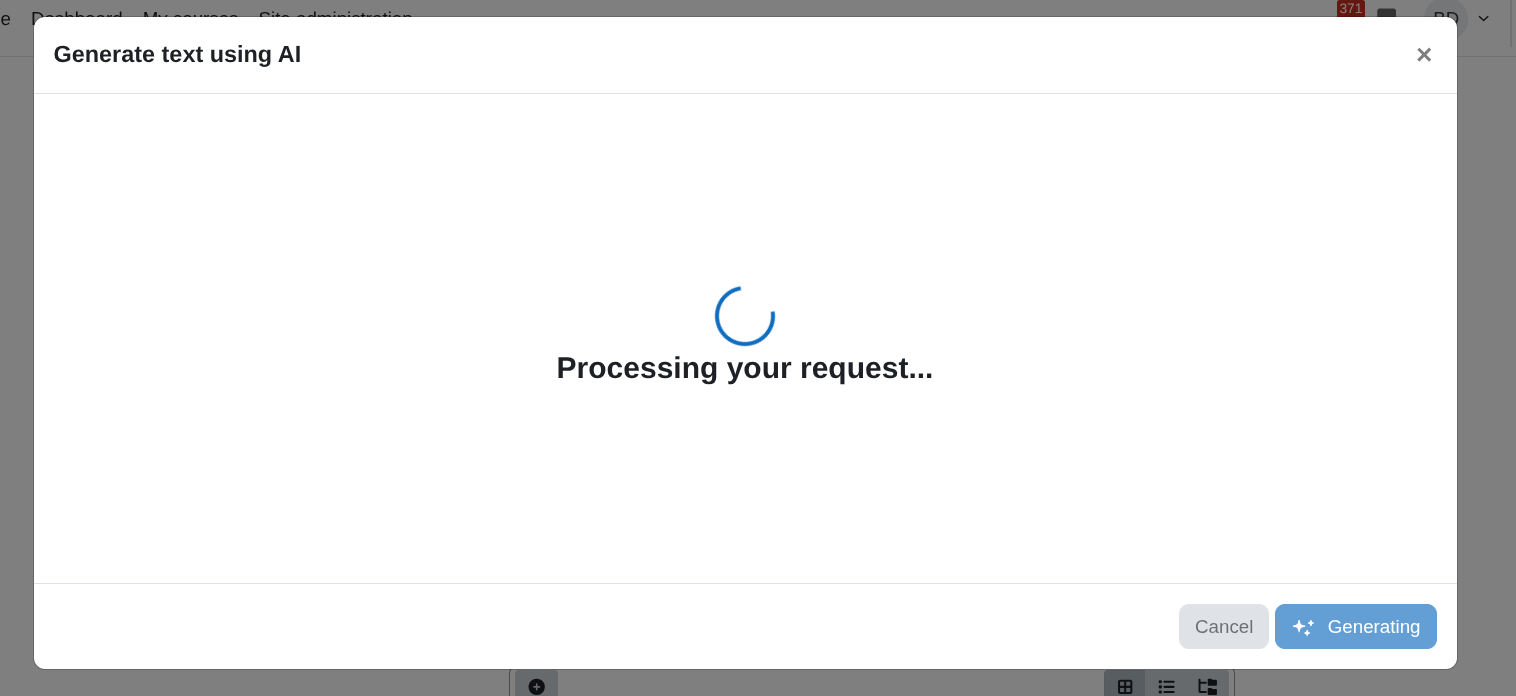
After clicking Generate text, the AI starts generating the content and displays a processing indicator.
-
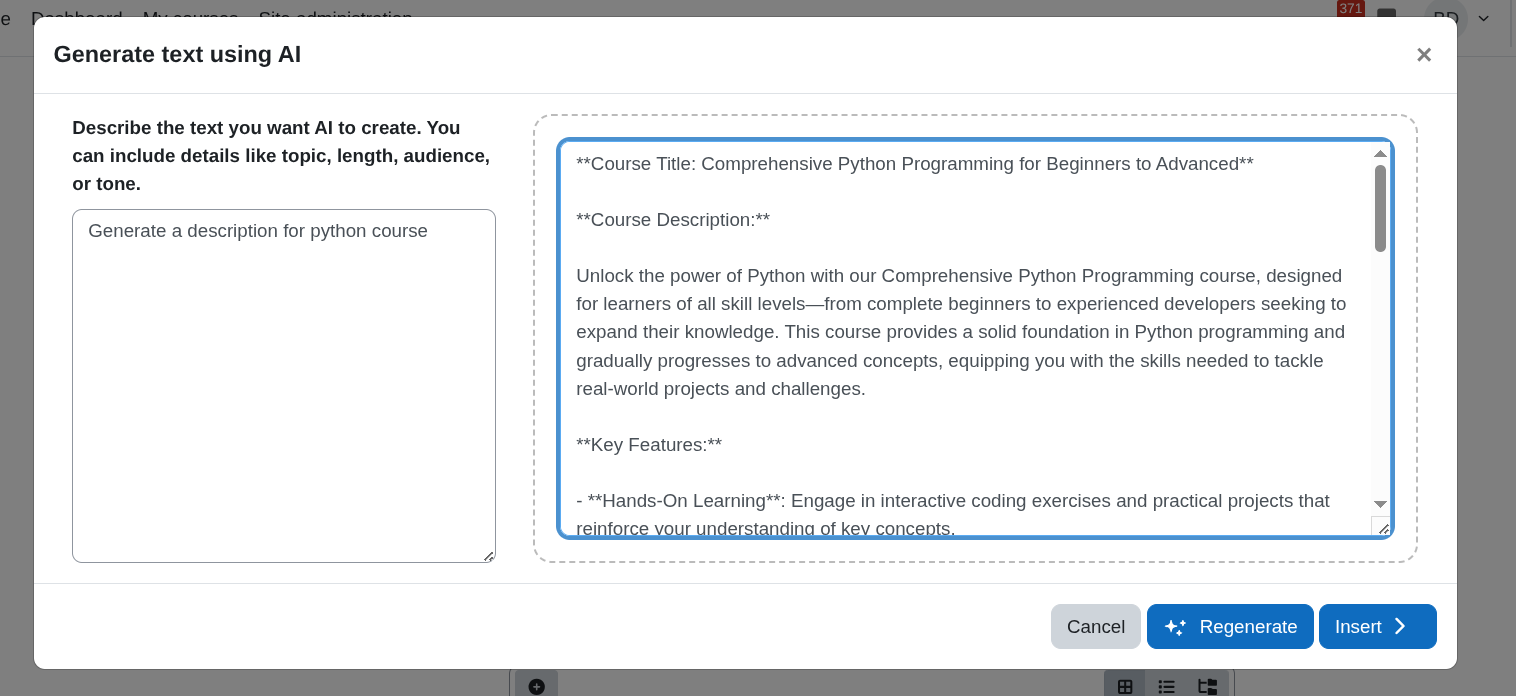
When the generation is complete, the generated text is displayed inside the modal window.
-
At this stage, the user has two options:
- Regenerate to create a new version of the content.
- Insert to place the generated text into the editor.
-
After clicking Insert, the generated content appears directly inside the TinyMCE editor and can be edited as needed.
Enable Generate image
To enable AI image generation inside the editor:
-
Make sure the Generate image action is enabled in the AI Provider settings:
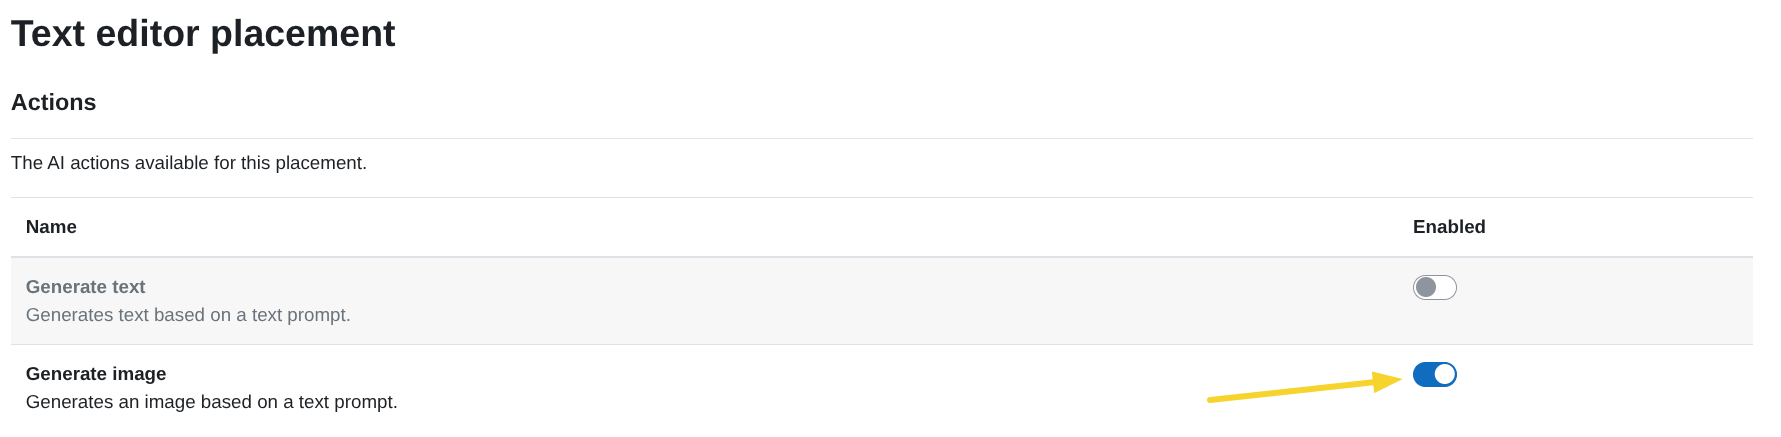
Generate image action configuration -
In the Text editor placement table, activate the toggle in the Generate image row.
Permissions
The Generate image with AI button is only available to users who have the required capability:
aiplacement/editor:generate_image
By default, this capability is allowed for the following roles at the course context level:
- Manager
- Editing teacher
- Teacher
- Student
If you want to control which roles can see the Generate image with AI button, you can modify this capability as an administrator in:
Site administration > Users > Permissions > Define roles
For more information about managing roles and permissions in Moodle:
What this enables inside the editor
Once enabled:
-
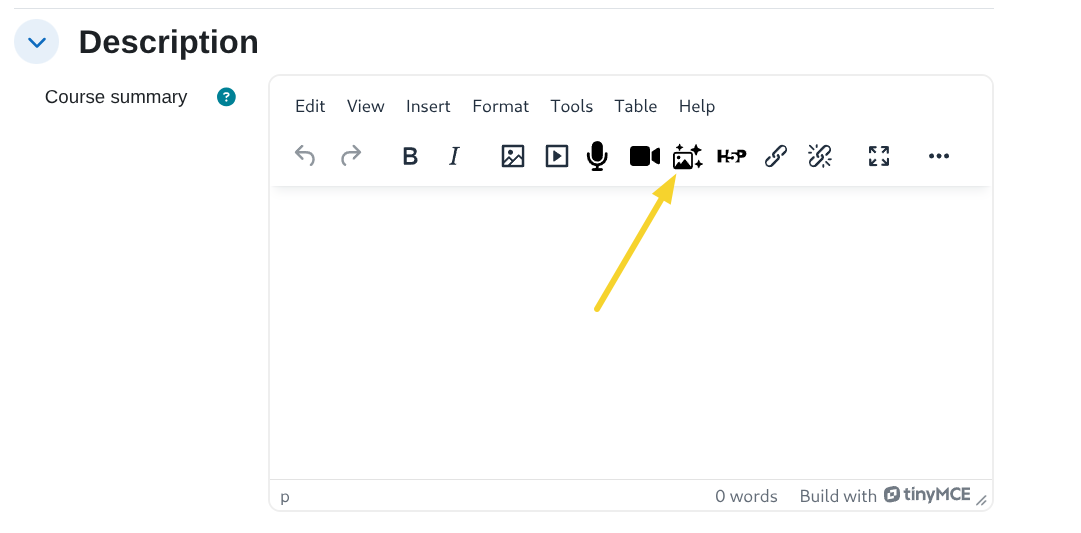
A Generate image with AI button appears in the TinyMCE editor toolbar.
-
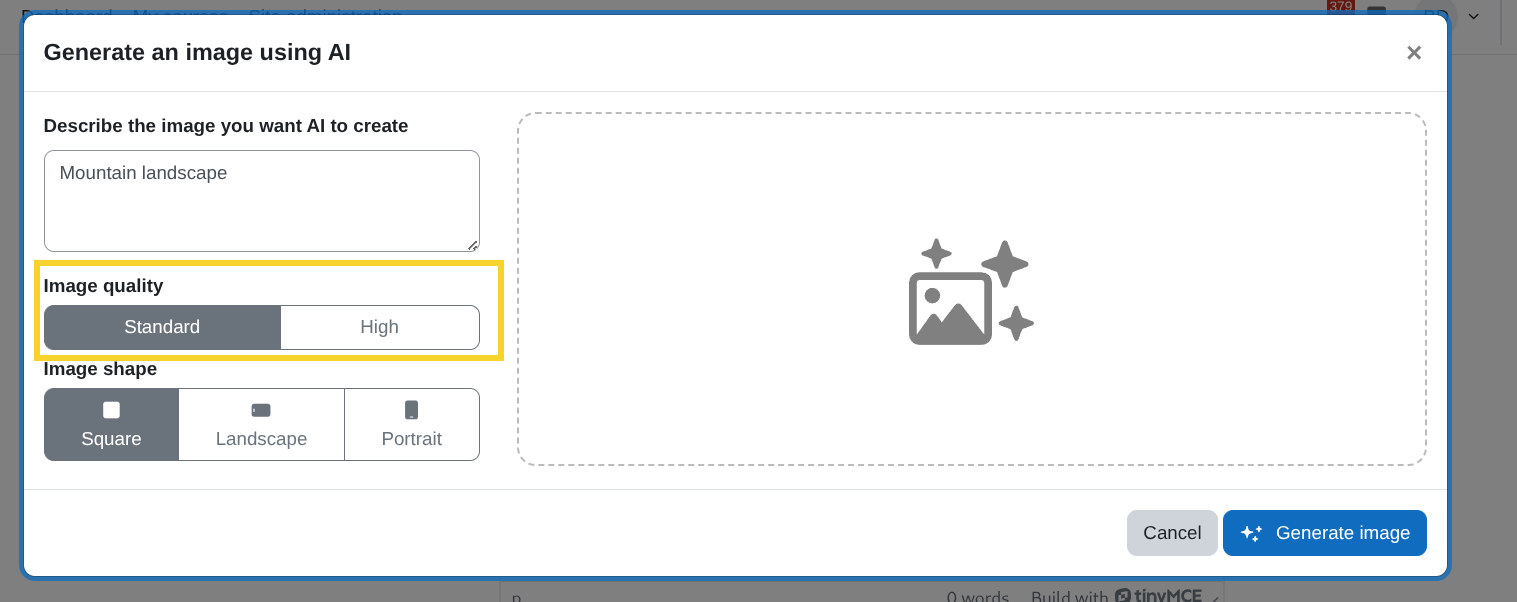
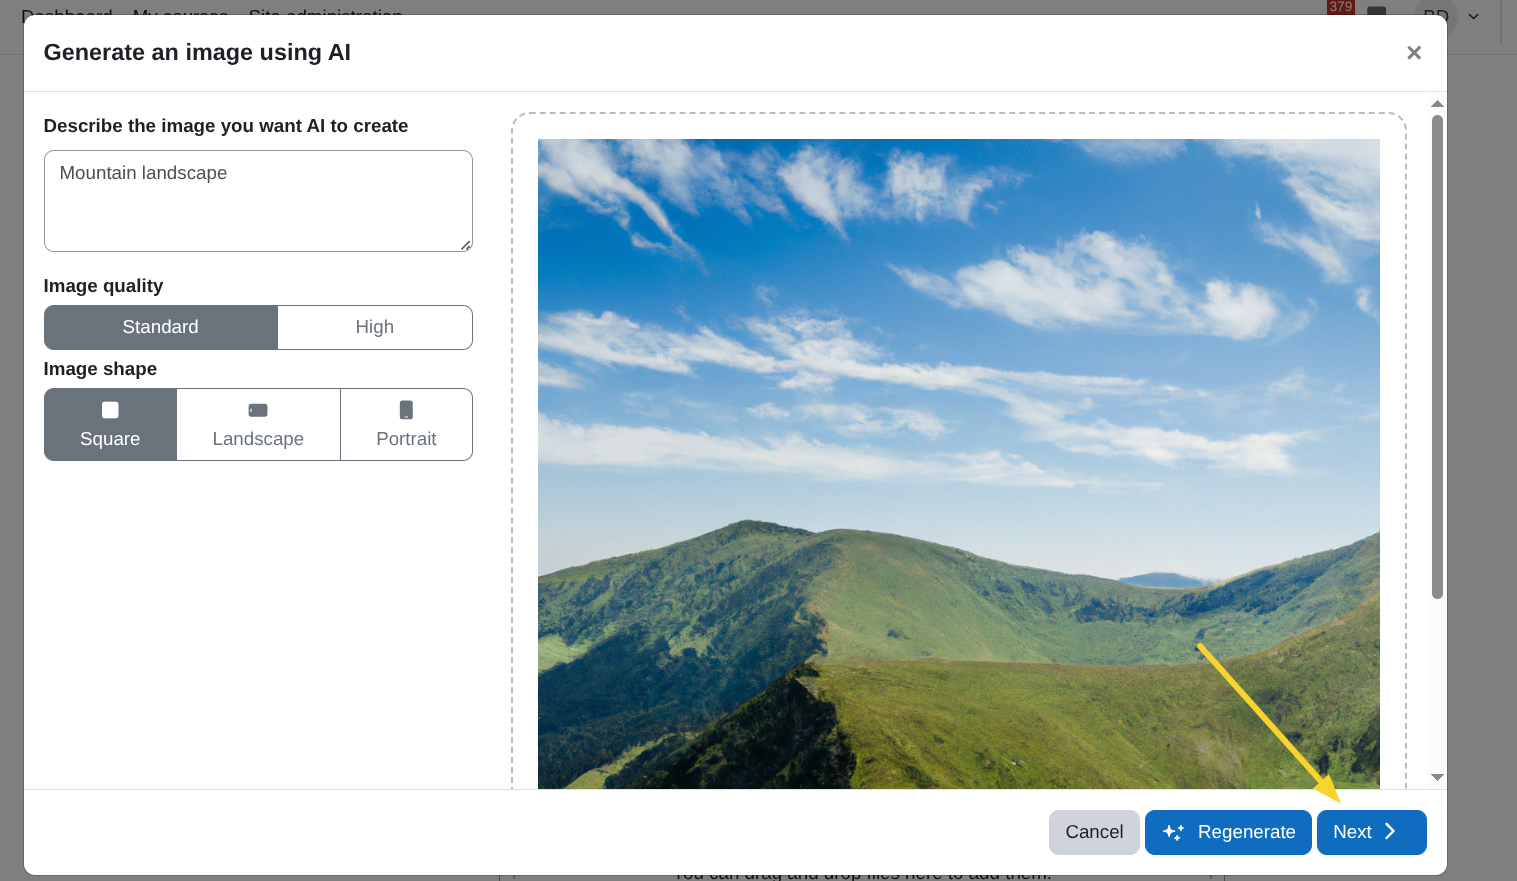
Clicking Generate image with AI opens a modal window where the user can describe the image to generate and configure its parameters.
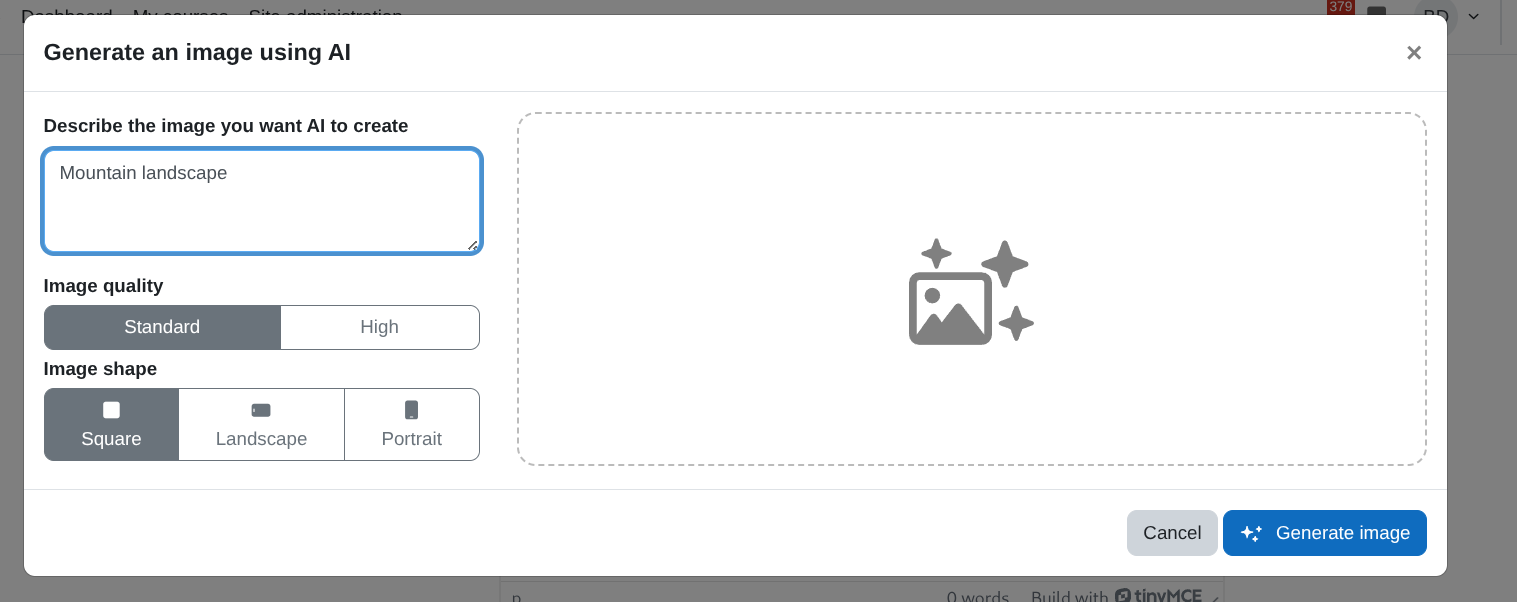
Image generation parameters
Inside the modal, the user can define:
-
Image description
A text prompt describing the image to be generated (for example, “Mountain landscape”).
-
Image quality
- Standard: Generates a faster, lower-cost image.
- High: Generates a higher-quality image with more detail.
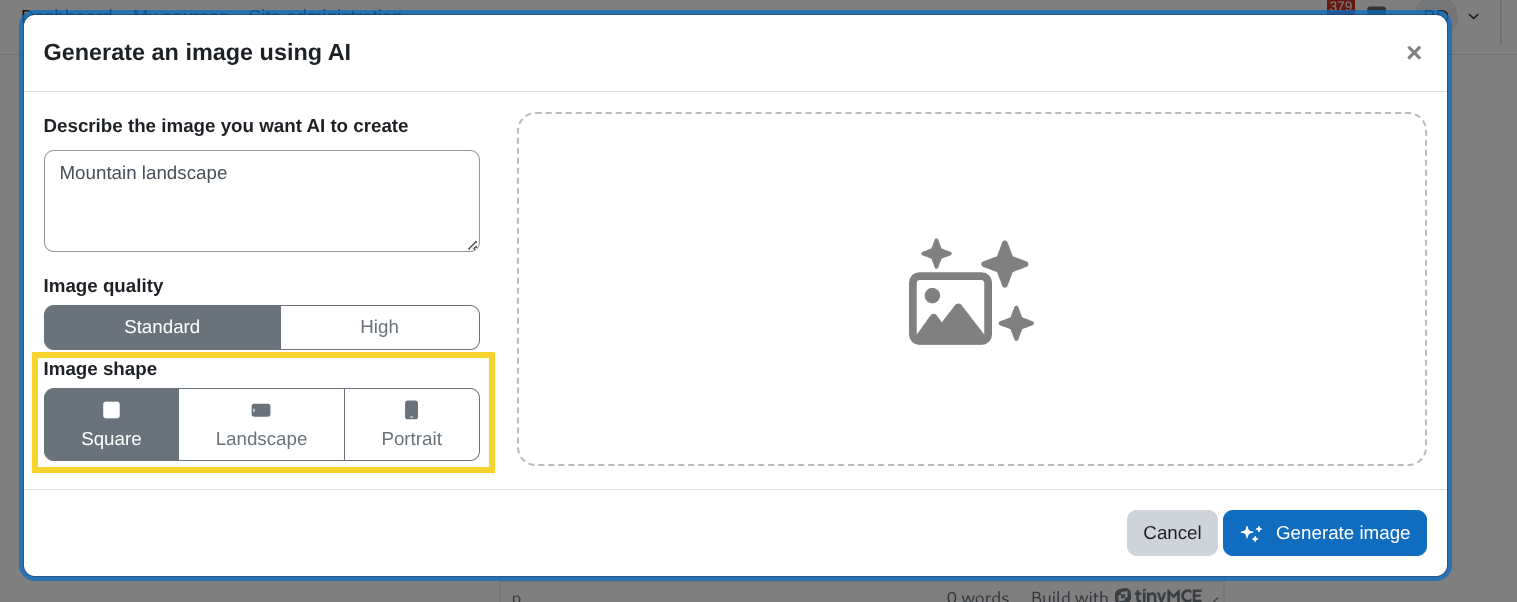
-
Image shape
- Square: 1:1 aspect ratio.
- Landscape: Horizontal orientation.
- Portrait: Vertical orientation.
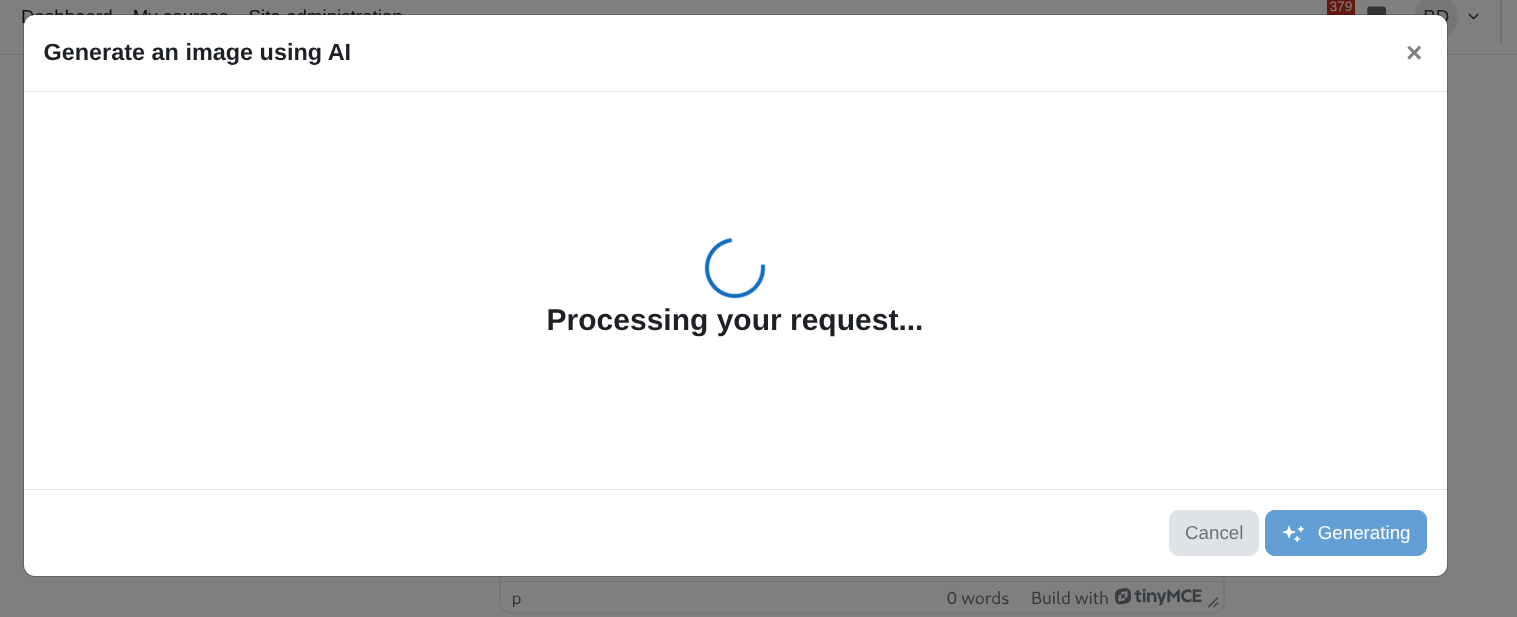
-
After clicking Generate image, the AI starts generating the image and displays a processing indicator.
-
When the generation is complete, the generated image is displayed inside the modal.
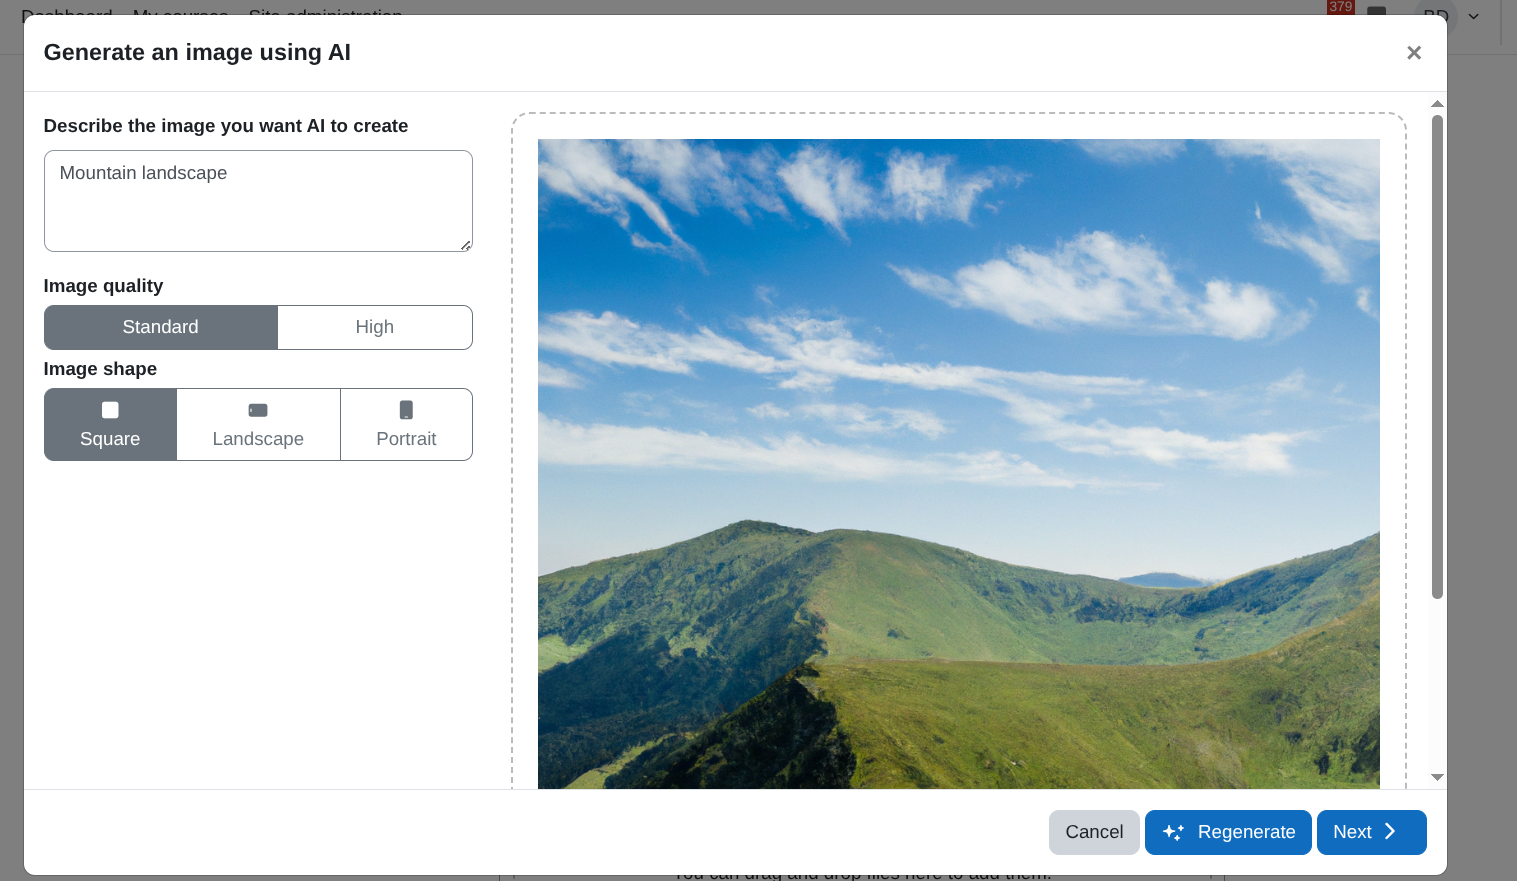
-
At this stage, the user can:
- Regenerate to create a new version of the image.
- Click Next to continue with image details.
Insert the image into the editor
After clicking Next, an image details view appears.
In this screen, the user can:
-
Mark the image as decorative.
-
Keep the original size or define a custom size.
-
Edit the alternative text (description for accessibility).
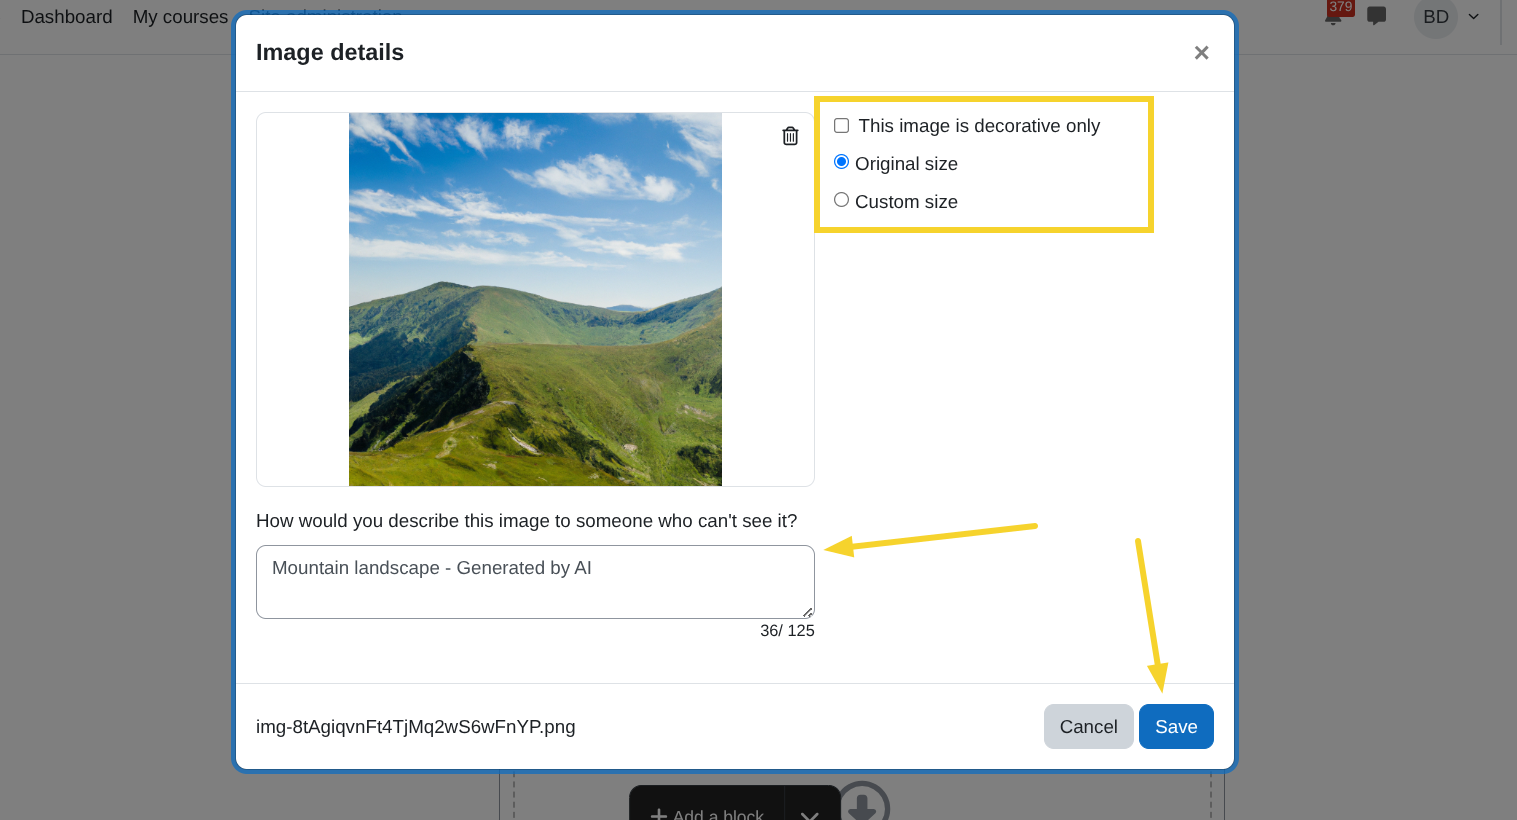
Finally, click Save to insert the image into the TinyMCE editor.
The generated image will then appear inside the editor content and can be resized or edited as needed.