Getting license keys
This guide walks you through the full process in the Datacurso shop:
- purchasing AI credits (or claiming a free credits package to try the suite)
- creating a license key
- assigning credits to that license key
At the end, you will have a license key ready to configure in Moodle.
Step 1: Purchase AI credits
In this step, you will purchase AI credits (or claim a free credits package to try the suite), create a license key, and assign credits to it.
Sign in or create an account
Go to the shop DataCurso and sign in or create an account.
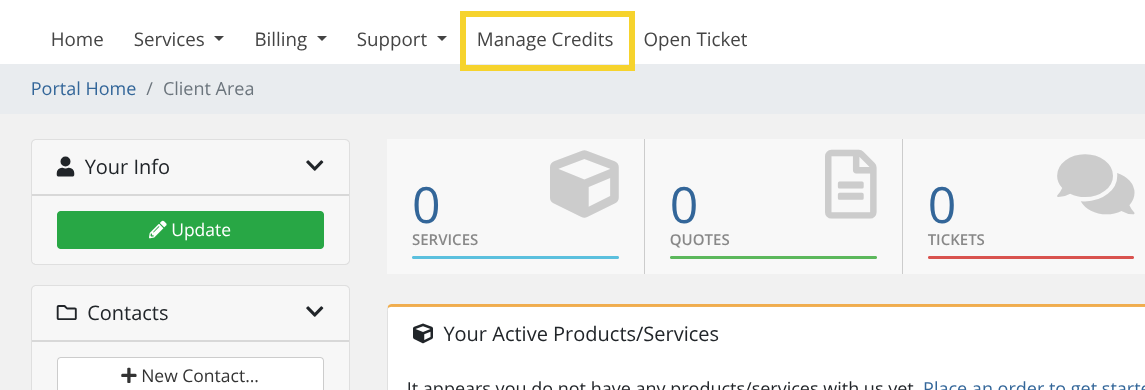
Manage AI Credits section
This is the central place to manage your Datacurso AI credits and licenses. You can create multiple license keys and assign different amounts of credits to each one depending on your needs (for example, one license per Moodle site).
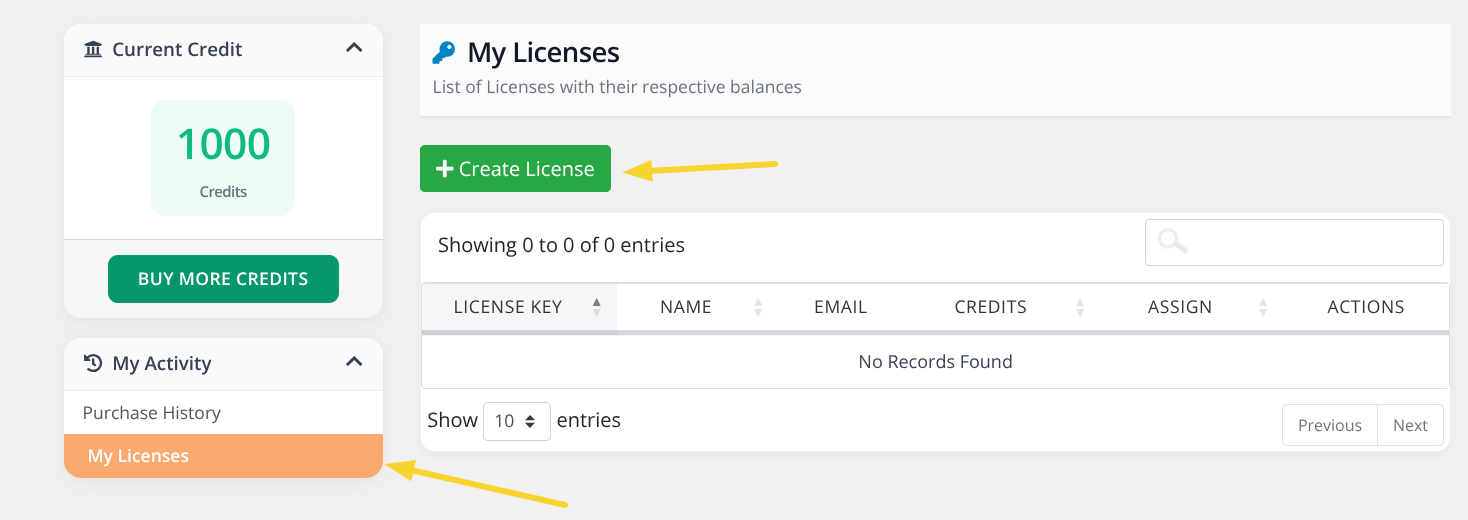
To access this section go to the Manage Credits section.
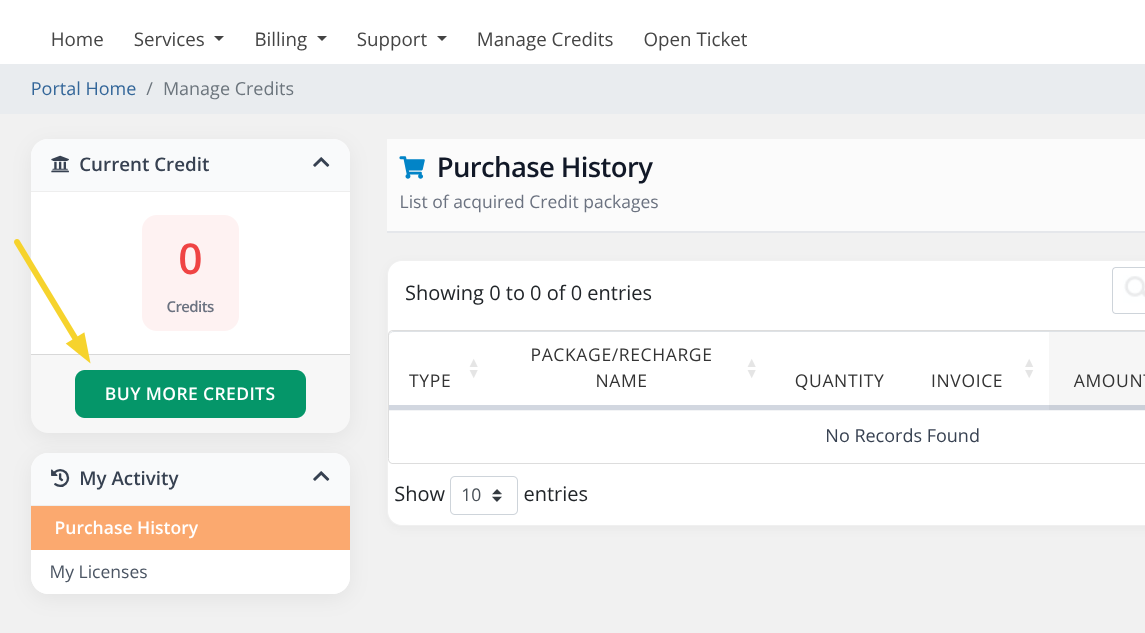
Buy AI credits
-
Click on the BUY MORE CREDITS button.
-
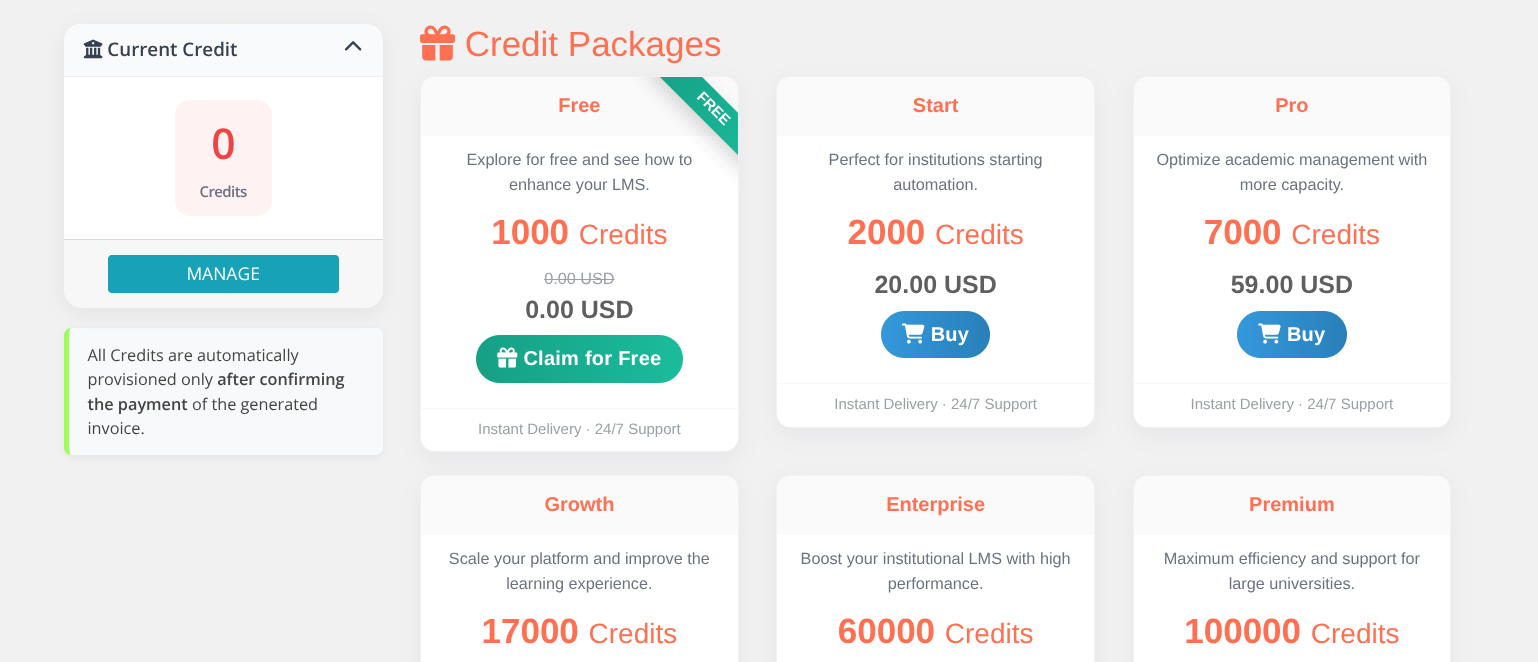
Select the package of credits you want to acquire. If you want to try the Datacurso AI suite, you can select the free credits package from this step if available.
-
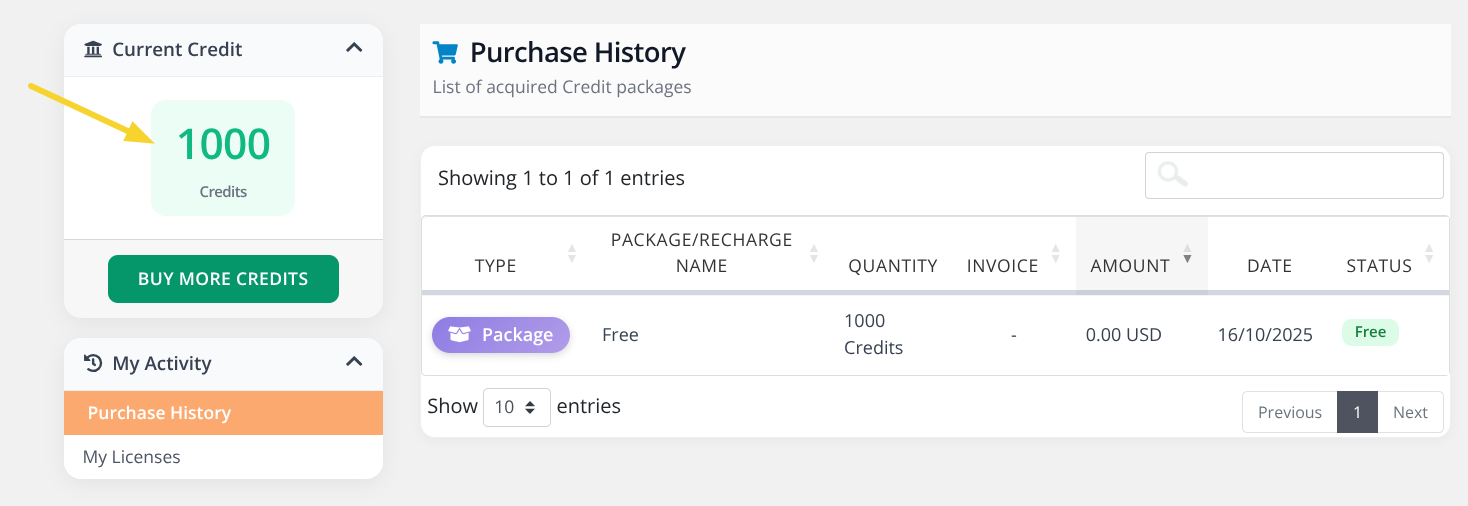
Once the purchase is completed, your new credit balance will be displayed.
Step 2: Create and manage license keys
A license key is what you will paste into Moodle to connect your site with Datacurso AI services.
You can create multiple license keys and assign different amounts of credits/tokens to each one, so you can use them across different Moodle sites.
Create a new license key (with initial credits)
-
Go to the My Licenses section and click the Create License button.
-
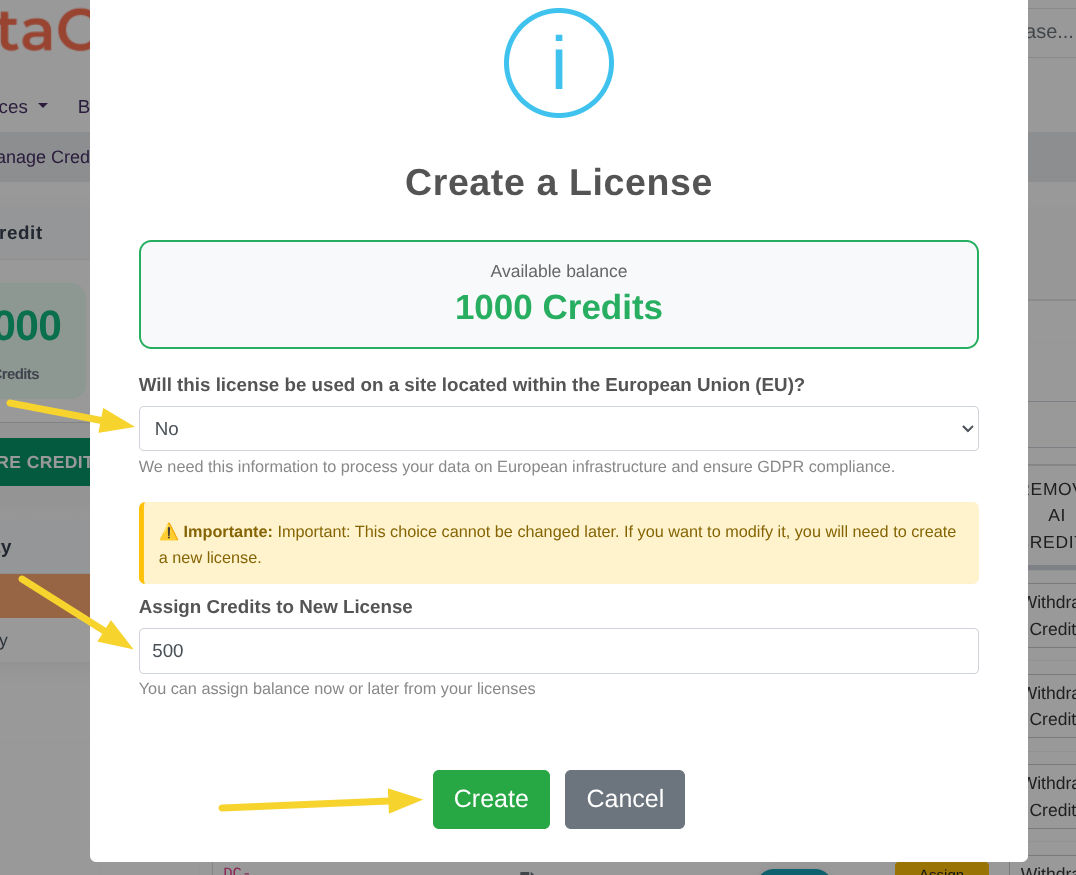
A modal window will open with a form. Complete the following fields:
-
Will this license be used on a site located within the European Union (EU)? A selector with two options: Yes / No.
Select Yes if the Moodle site is located in a European Union country. This is required for GDPR compliance:
ImportantThis choice cannot be changed later. If you need to modify it, you must create a new license.
-
Assign Credits to New License A numeric field where you enter how many credits you want to allocate to this new license key.
Click the Create button to confirm.
-
Add more credits to an existing license
If you want to add more credits to a license, you can do it following the next steps:
-
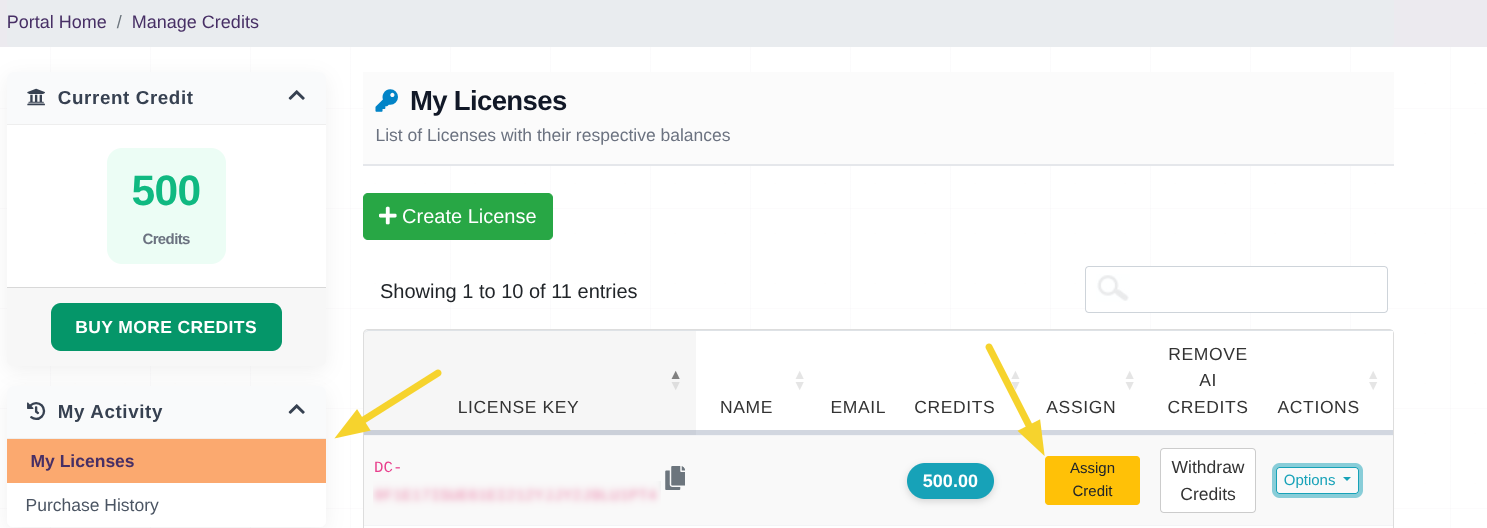
In the license row, click the Assign Credits button.
-
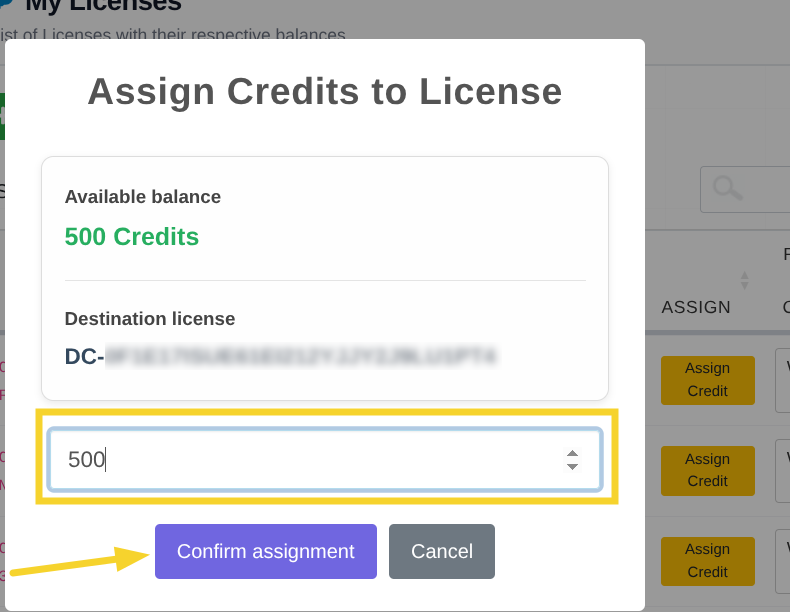
A modal window will open with a numeric field. Enter the amount of credits you want to add and click Confirm Assignment.
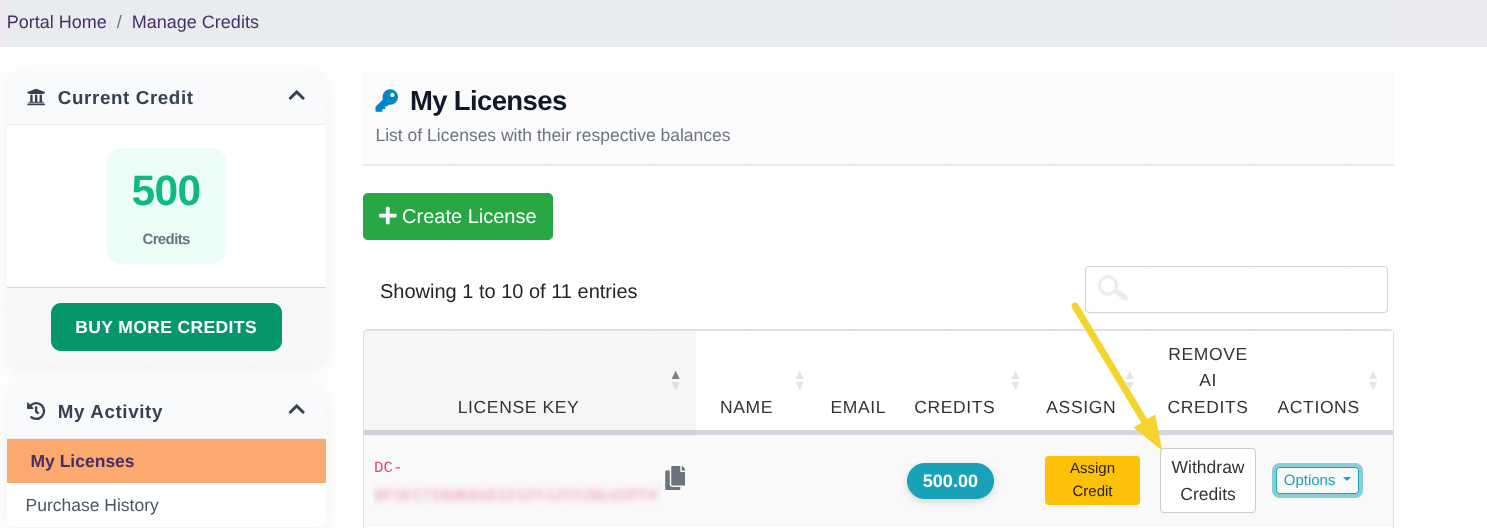
Withdraw credits
If you need to reduce a license balance, you can withdraw credits from it.
-
In the license row, click the Withdraw Credits button.
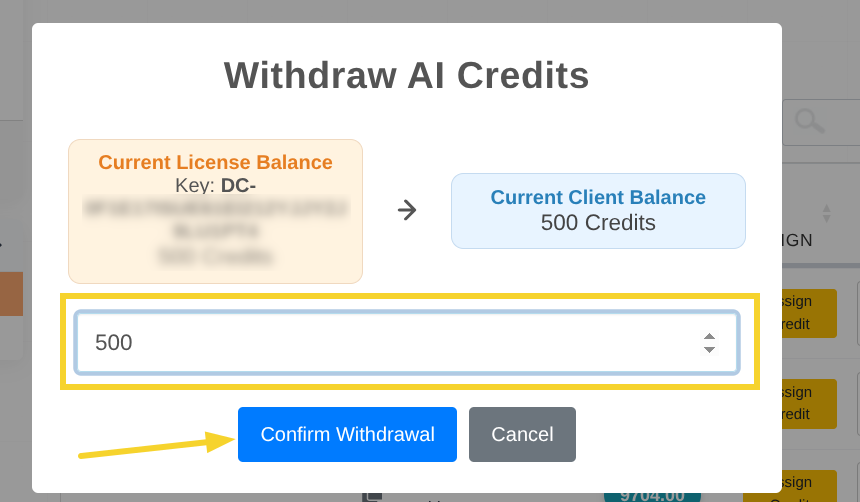
-
A modal window will open with a numeric field. Enter the amount of credits you want to withdraw and click Confirm Withdrawal.
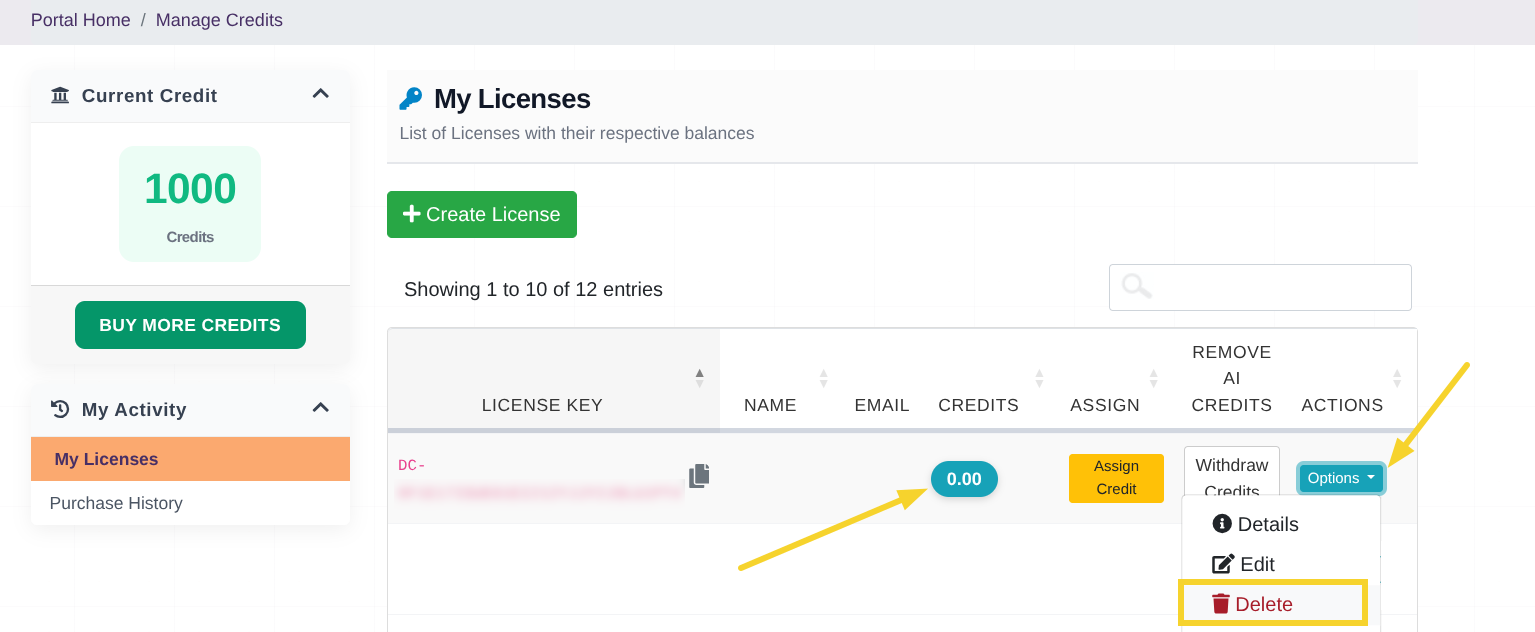
Deleting a license key
To delete a license, it must have 0 credits assigned.
-
If the license has a remaining balance, withdraw all remaining credits using Withdraw Credits button, for more details see Withdraw credits section.
-
In the license row you want to remove, click the Options button.
-
From the menu that appears, click Delete.
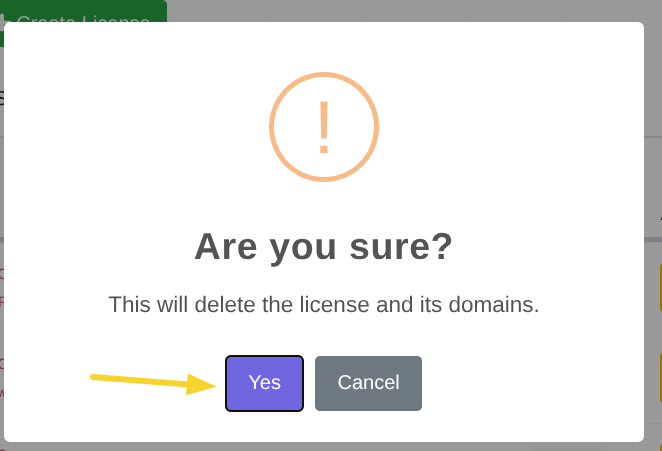
-
A confirmation modal will appear. If you are sure, click Yes to delete the license.
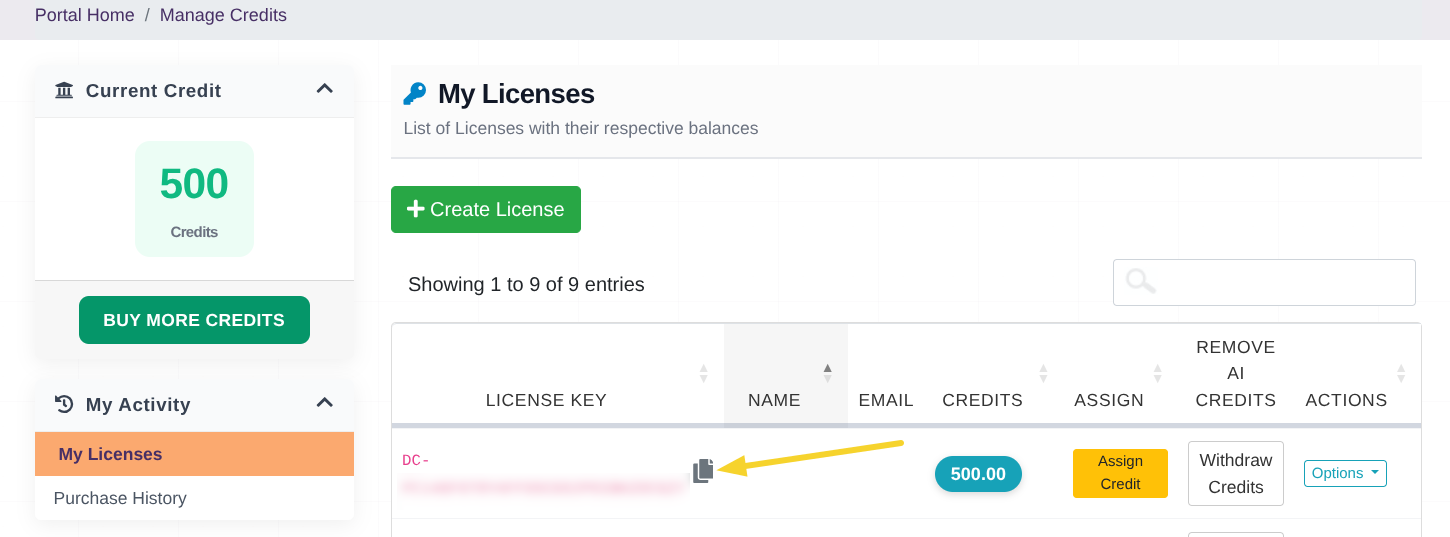
Step 4: Copy the license key and configure it in Moodle
In this step you will copy the license key from the Datacurso shop and paste it into Moodle.
-
Copy the license key from the license row in the shop.
-
Open your Moodle site and follow the steps in General settings.
-
When you reach the provider settings, paste the value into the License key field.
-
Save the changes.
Keep this key private. Anyone with access to it can use your assigned credits.
Notes and recommendations
- You can create multiple license keys and assign different amounts of credits to use them across different Moodle sites.
- If you manage multiple sites, it is recommended to use one license key per site to keep consumption tracking and governance simpler.